"Mama"

"Mama"
"Mama" by my daughter age 3

Monday, January 27, 2014

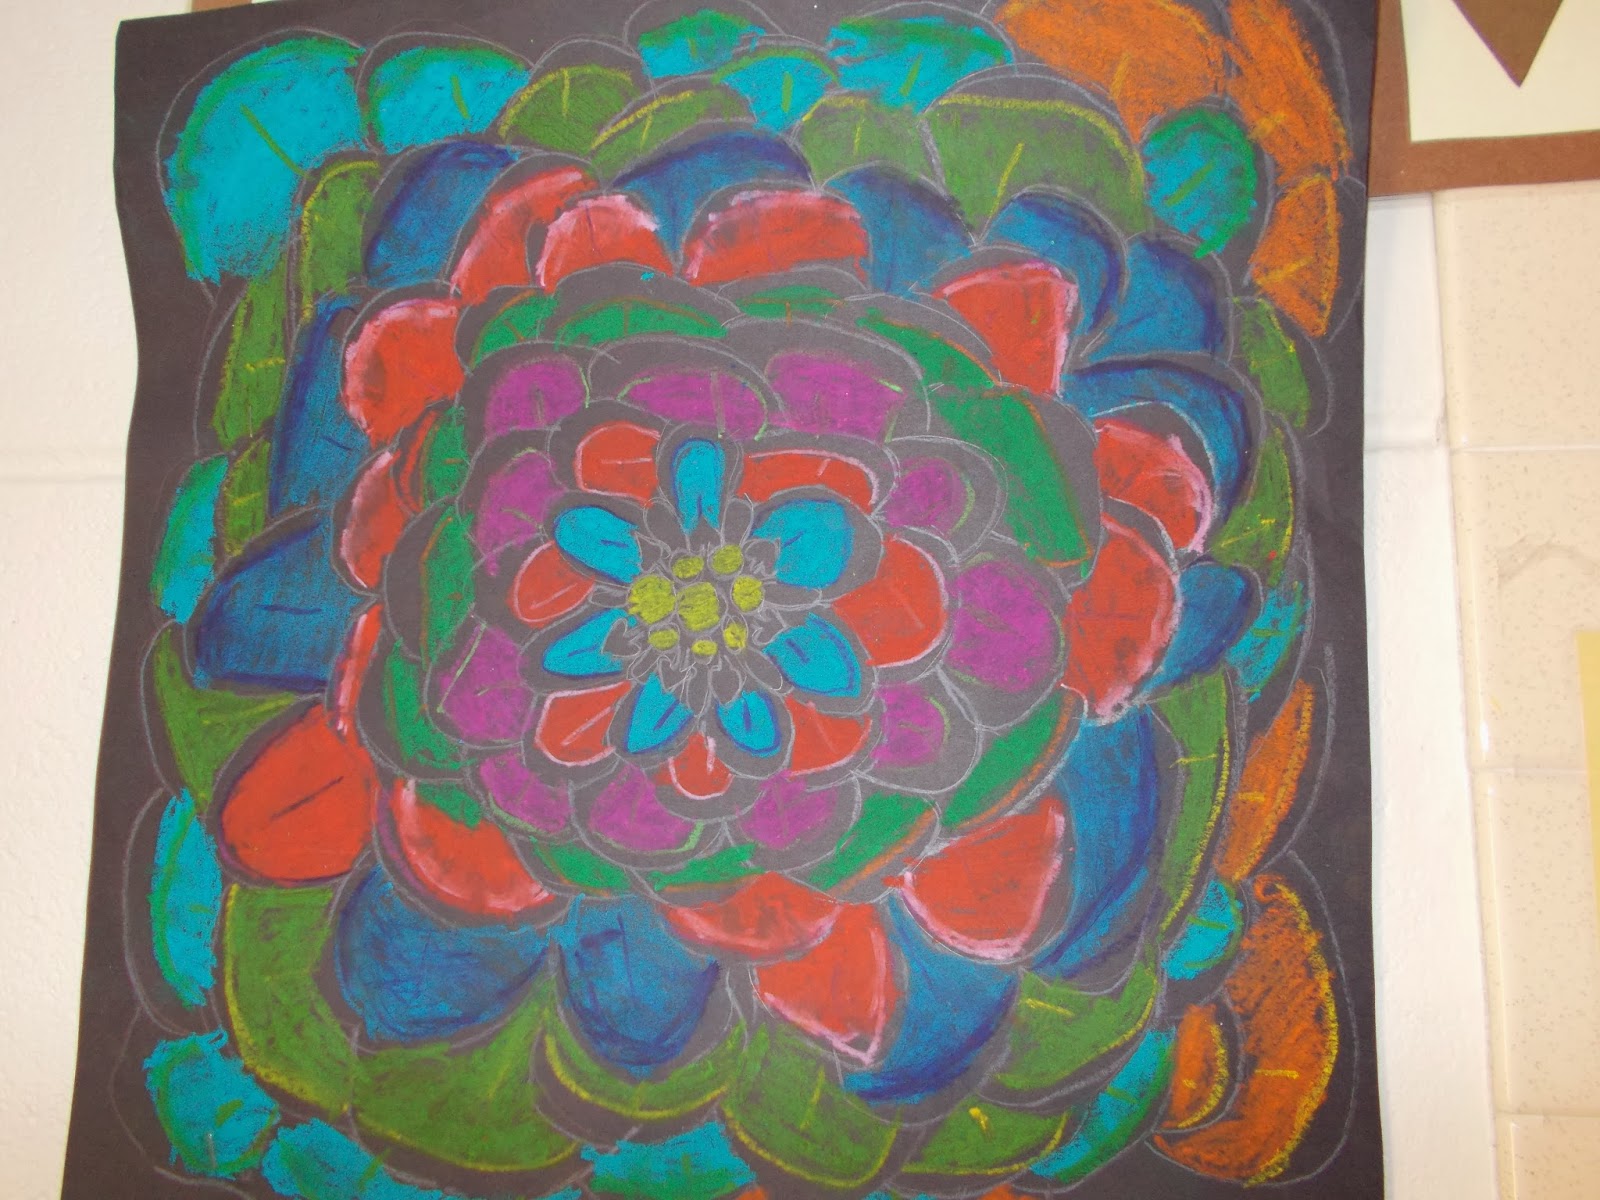
O'Keeffe Flowers


*One of my favorite lessons.

Students learned about O’Keeffe through a power point presentation. They viewed several examples of her artwork. We had a discussion on how large she painted her flowers, sometimes so large they became an abstraction- or it didn’t look exactly like a flower anymore.

Students drew their flowers from step by step directions in a drawing guide. They had a choice of how to draw their petal shape to make their flower unique. They were required to draw flower large enough to fill the entire paper.

Students then colored in with oil pastel. We discussed ways to color neatly, and they also learned about blending techniques.

Adaptive Robert Indiana Love


Jim Dine Woven Hearts


First graders learned about the artist Jim Dine through a Power Point Presentation. They viewed several of his paintings. They learned that Jim Dine loved to paint hearts and use bright colors in his paintings.
 
First graders learned how to draw a SYMMETRICAL heart by folding a square piece of paper in half and drawing half of a heart. Next they cut out the heart shape. They then created patterns around the heart shape using markers, and then added texture using a crayon and rubbing plate.
First graders then glued strips of black paper inside the heart shape. They then learned how to weave tissue paper through the black strips using the over and under technique. They did a great job!

Friday, December 20, 2013

Paper Mache Snowmen


Clay Owls


Worm's Eye Perspective Snowmen


5th graders learned about worm’s eye perspective in art class. Worm’s eye perspective is looking up at an object, like if you were a worm looking up at a very tall snowman. They outlined their drawings in Sharpie and colored in with construction paper crayons. Quick, easy, and very cute!

Angry Bird Soft Sculptures and Drawings


5th graders learned about the artist Claes Oldenburg through a Power Point presentation. Since 1962, Oldenburg has been making soft sculpture based on common objects ranging from household fixtures (such as toilets, fans, and light switches) to even food. Students also reviewed the art movement, POP ART. Pop art can be any every day item, also. Pop Art is short for Popular Art. It is inspired by comic strips, advertising, and popular entertainment…things that you would see in everyday life.

When deciding what students should create for their soft sculptures, I looked to what’s popular in their culture right now- ANGRY BIRDS! Students first created an Angry Bird drawing, they had a choice of 3 templates to trace, but were responsible for adding all the details in the face and body. They outlined in Sharpie, colored in, and cut it out. This would later be used as a guide for when they were adding details to their soft sculptures.

For their sculptures students used their drawing as a tracer, and traced it onto two pieces of felt, then cut it out. Students learned how to sew using two types of stitches in their sculpture- a straight stitch and a whip stitch. When their sculpture was about ¾ of the way sewn shut, they stuffed it with cotton batting to make their sculptures fluffy, like Oldenburg’s sculptures.
 
Students then cut shapes from felt scraps to create their Angry Birds face, and used tacky glue to glue pieces to the body. All the student’s did a phenomenal job on this project! They were engaged the entire time we were working on this, and I had several students who came in on their own time to work on it. It was great to see them so inspired and working so hard!

Gingerbread Clay Ornaments


Gingerbread prints


2nd and 3rd graders learned about the art technique of printmaking. Printmaking is the process of making art by printing on paper using a printing block or plate. Students first drew a gingerbread person and then traced it onto a Styrofoam printing plate. Next students brushed brown paint onto their printing plate making sure to apply it evenly. Then they carefully placed their printing plate onto their colored background, and then used a printing brayer (roller) to transfer the image. Printmaking can be tricky because you have to make sure to apply the paint evenly, not move the plate while transferring your print, and carefully removing your printing plate to get a clean print. The students created four prints in their gingerbread series, so they got lots of practice using this technique. Sometimes art can be more about the process of art making rather than the final product. Students jazzed up the prints that didn’t come out so clearly by outlining in glue and glitter and adding candy canes and snow. They did a great job for their first time at printmaking!

Tuesday, December 3, 2013

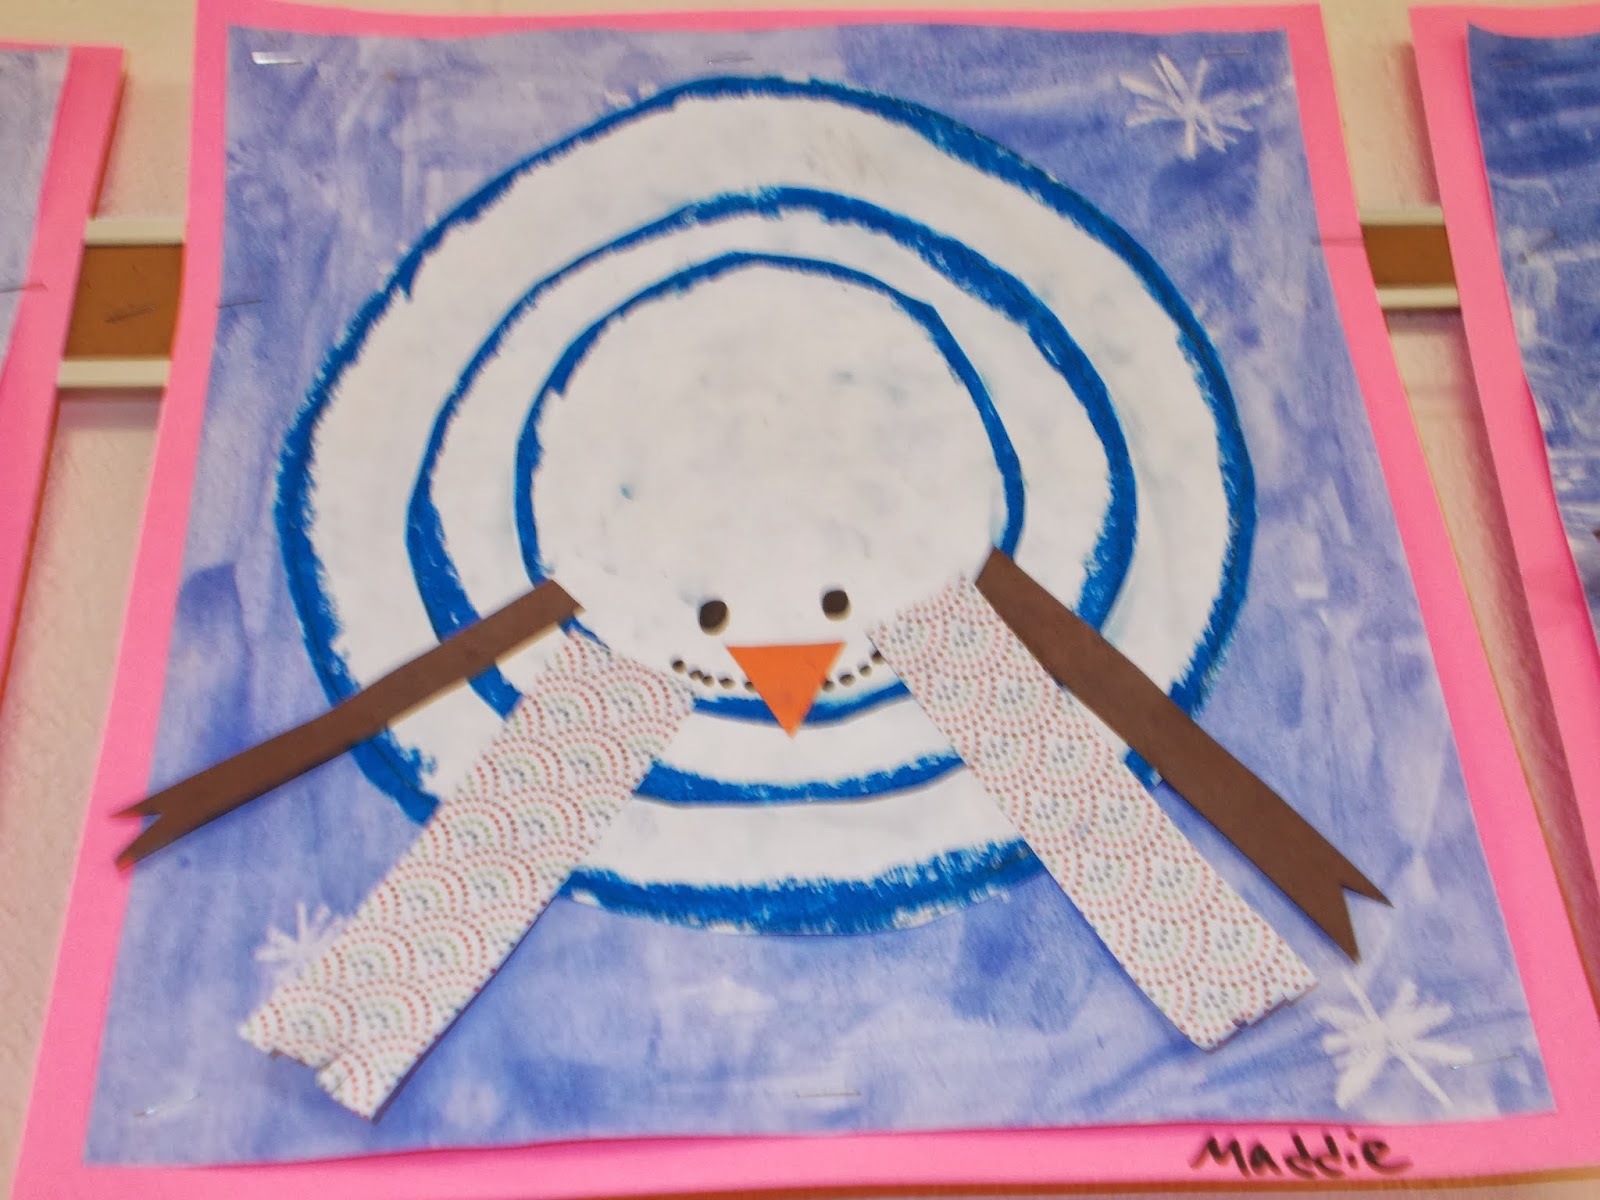
Aerial Perspective Snowmen


2nd graders read the story Snowmen At Night.  They drew snowflakes with white crayon on white paper to create a wax resist when painted over with blue water color. Students then learned what aerial perspective is. Aerial perspective, or bird’s eye view, is when you are viewing something from above. They cut out three different sized circles and outlined them in blue oil pastel. Instead of stacking the snowmen slightly overlapping one another, 2nd graders stacked and glued them one right on top of the other to create an aerial perspective. They added a scarf, face, and arms.